As you progress through the Kaida facility, you will inevitably face boss enemies, very tough foes who require a level of strategy to defeat. They must be defeated in order to progress.
A boss will always appear after completing a set amount of areas in each floor.
Boss Variants
Bosses can come in a few variants, affecting their performance and healthbar.
- Shielded - The boss gains a quickly regenerating shield equating to about 5% of their total health, and their max hp is increased.
- Armored - The boss gains 10 more armor points.
- Regenerating - The boss regenerates health constantly.
- Reactive Plating - At certain HP thresholds the boss will gain 8+ plating stacks. (100% - 70% - 40% - 10%)
- Heavy Loaded - The boss moves considerably slower, fires for longer, and has more health.
- Overdrive - The boss moves and attacks a lot faster.
First Bossfight
Experiment 57
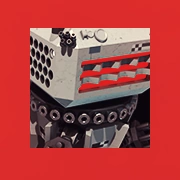
BEHAVIOR
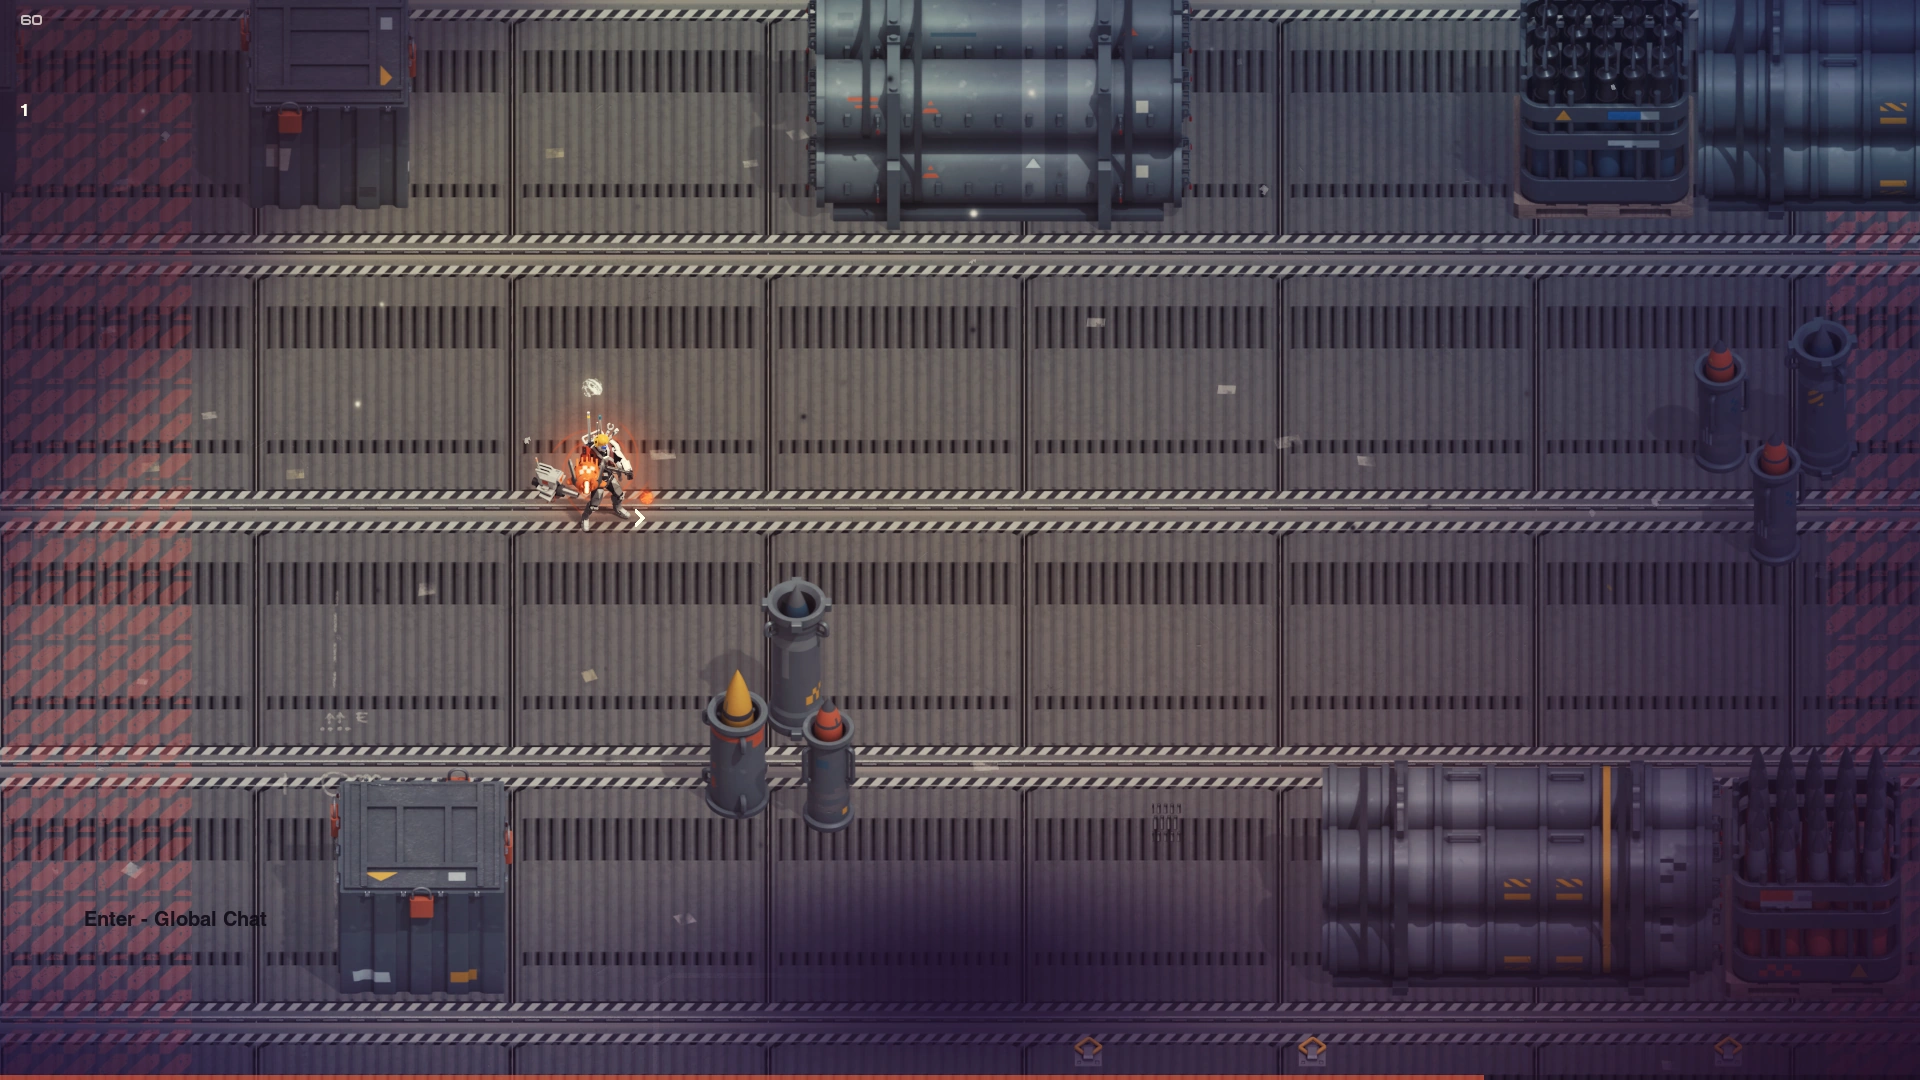
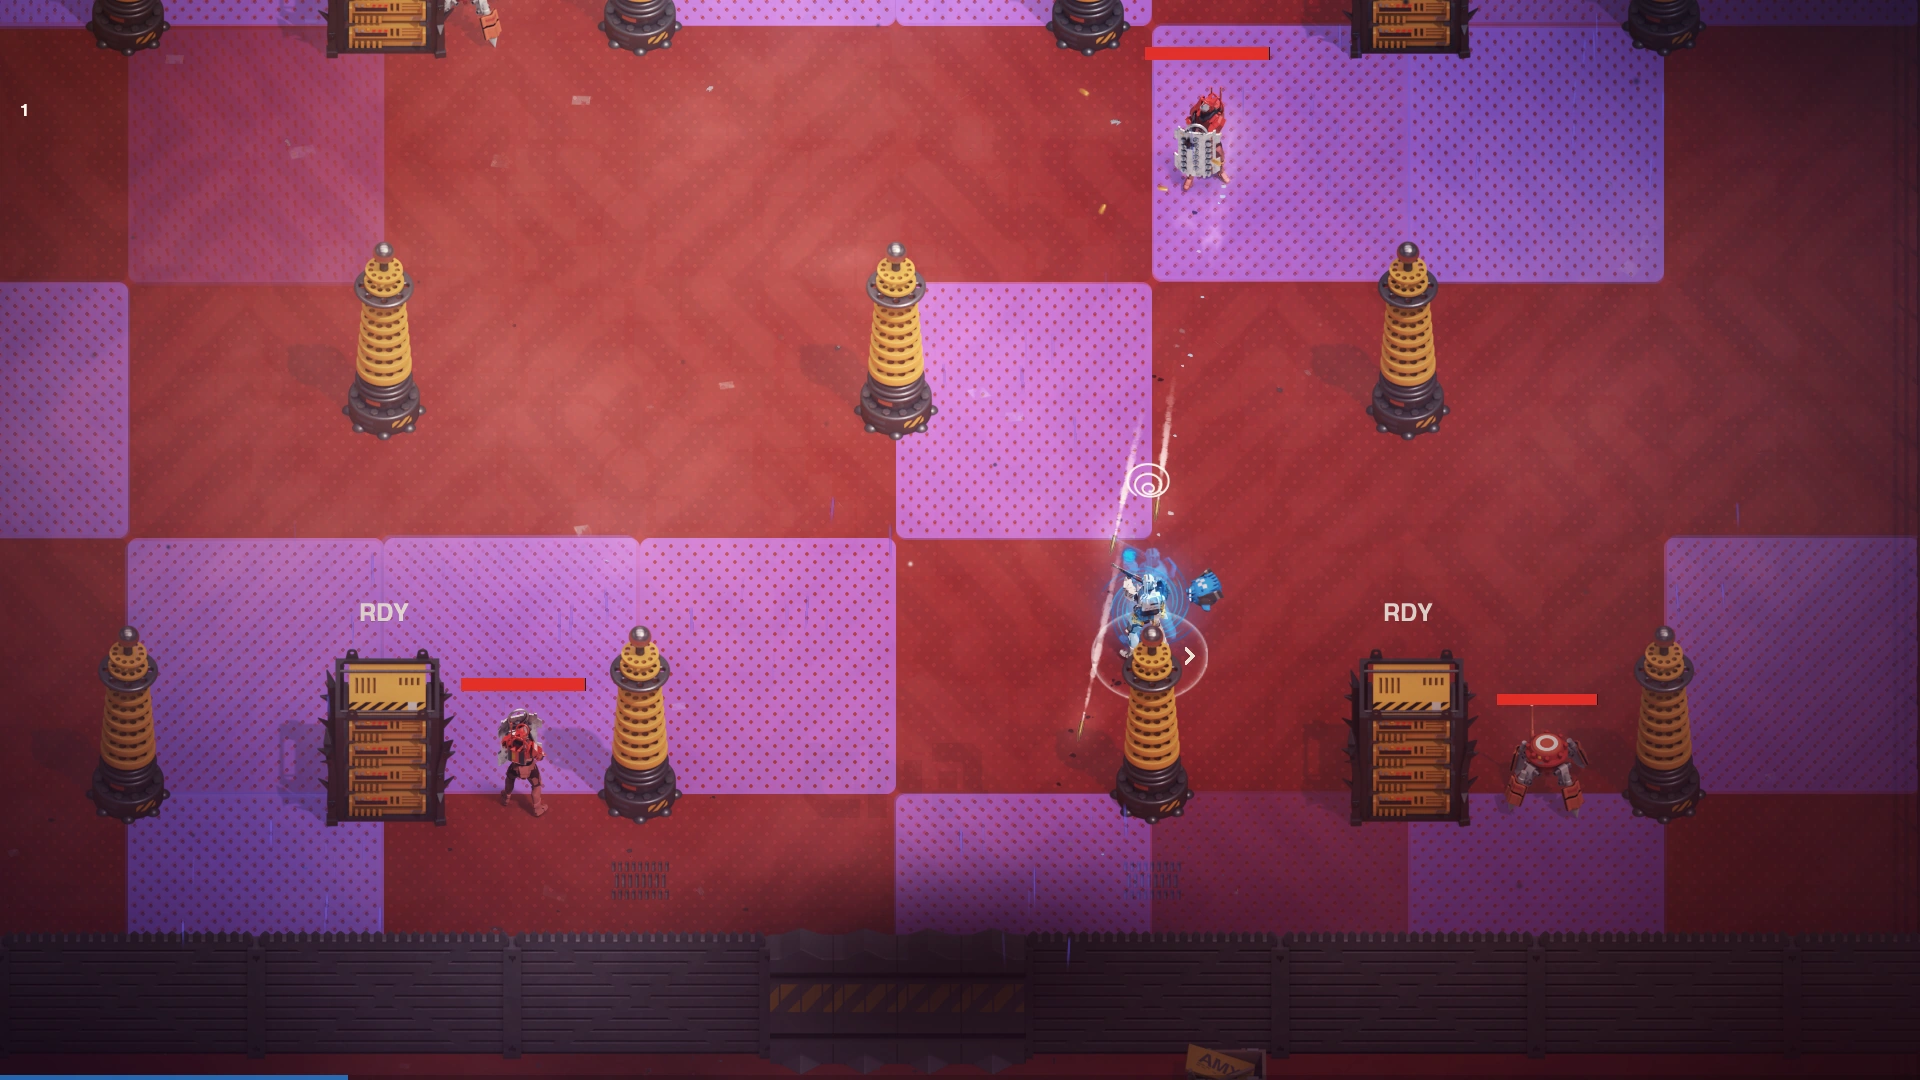
Experiment 57 or Spider Boss is a large quadruped robot that perpetually moves in your direction. Its attacks include:
- Firing mortar shells in on your location.
- Firing laser volleys in cardinal directions (up, down, left, right).
- Firing homing missiles.
- Firing homing seeker bolts similar to X512 Experimental but slightly faster.
- Spawning gun drones. The drones sometimes outlive the boss, and do not stop firing until killed.
On the ground are scattered hazards that impede movement, such as barbed wire and spike traps. There are a few concrete blocks that are placed in regular formations on the left and right sides of the arena.
Strategy
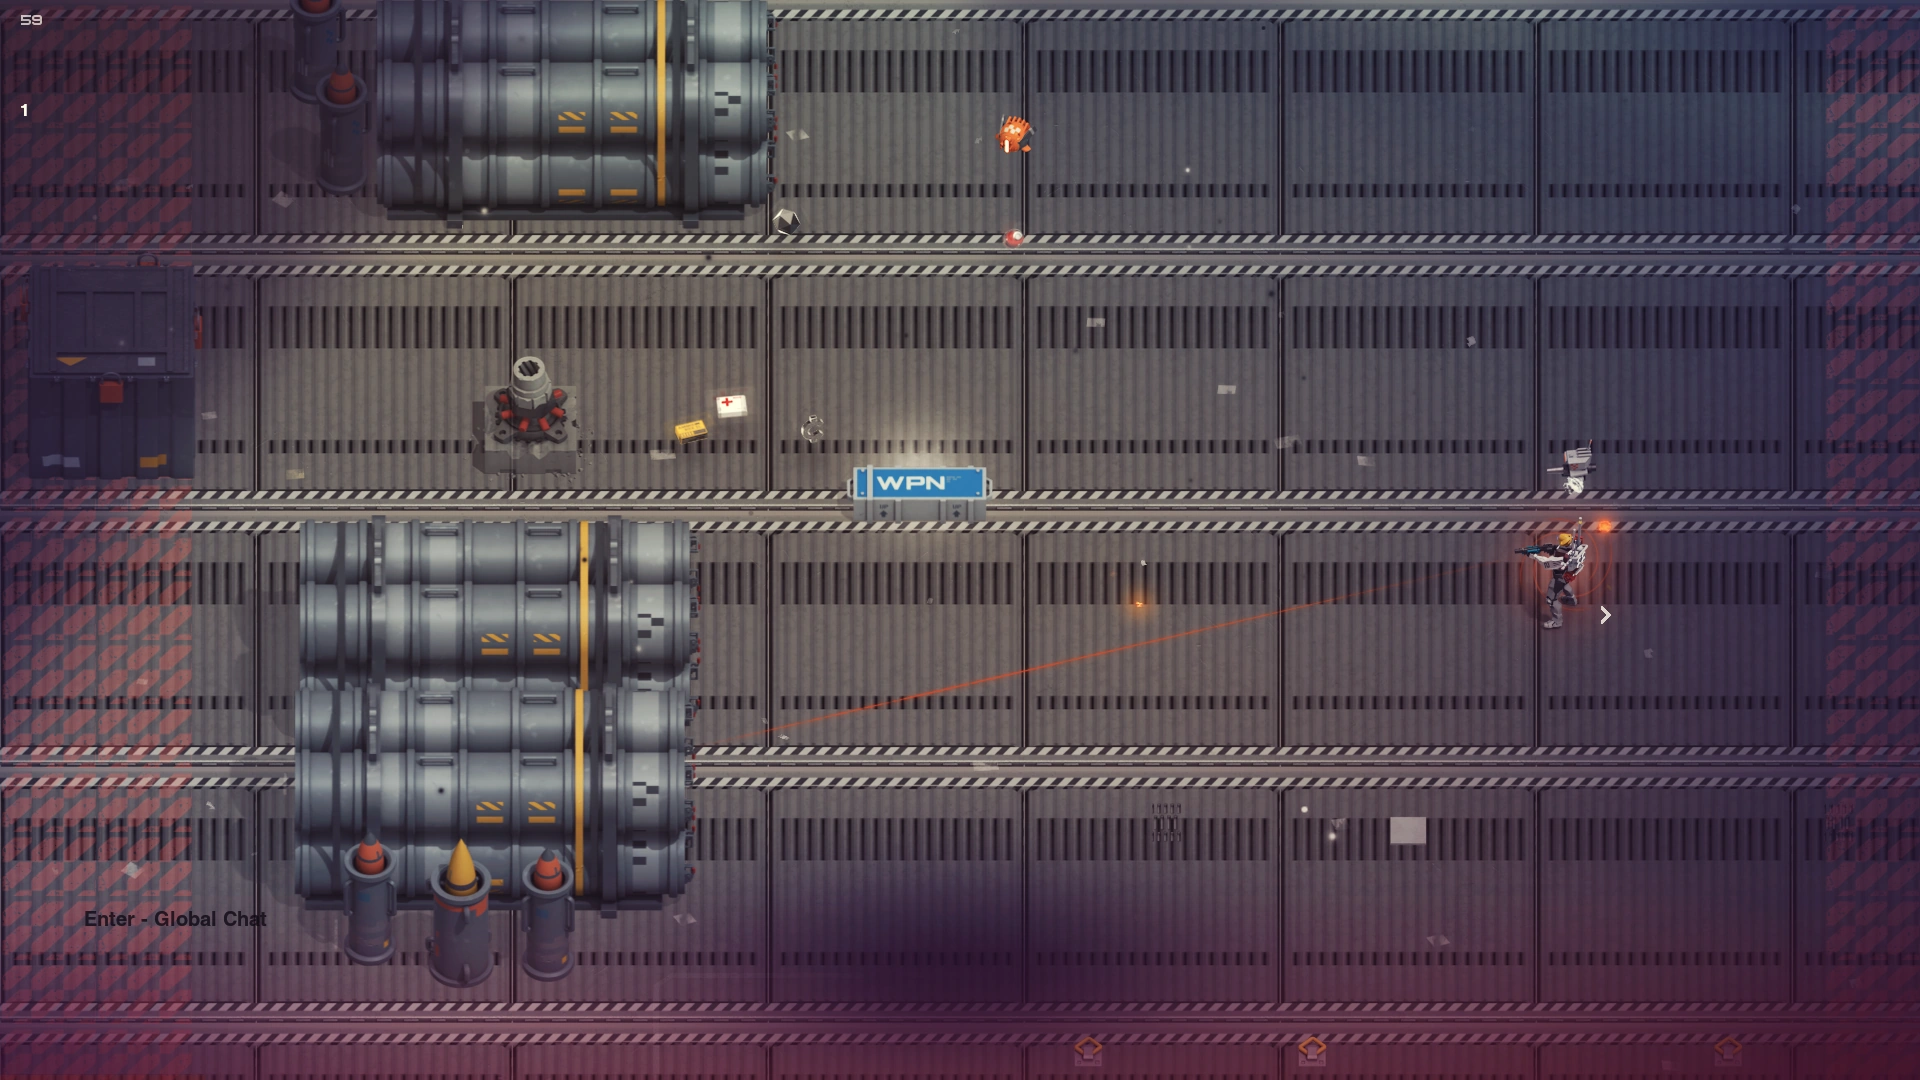
Experiment 57 is manageable as long as the player never stops moving and keeps at medium range. The multiple hazards on the ground encourage the player to never sit too long in one area, or else they expose themselves to damage from the spikes or slowdown from the wire. When battling at extended range, Experiment 57's only real threat lies in its mortar, which is dodged easily with dashing. The missiles can be sidestepped if the player allows the to get close enough: when they are sufficiently near, it is possible to sidestep in a direction perpendicular to where they come from.
Notes
- Has 25 armor with about 40,000 health base.
- Upon death, the powerups spawned by the boss kill may appear inside a lingering Psy Field. Retrieving them requires the player to wait until it disappears, or to dash in and quickly step out. (It's best to wait.)
- Bosses always drop an upgrade kit. While it may be tempting to use it on your current weapon, it can be worthwhile to check if the case dropped by the boss is a weapon. It might be of better use there!
- Two ammo crates spawn with every boss. Don't forget to top off your weapons!
- The Barbed wire and spikes also effect the Boss. It is also possible to kill the boss with nothing but Environmental hazards.
Hack the Server
Description
Hack the Server is a defense boss fight in which you must defend yourself while hacking a Kaida server. During the process, waves of enemies will spawn around the arena and try to disrupt your progress. When the server is fully hacked, it explodes and enemies stop appearing. Enemies spawned include:
- Breach Cetas
- SG Rivals
- B Defenders
- Workerbots
- Enforcers
- OM6 Overseers
- SPDR Explo
- Hovertank 808
The server lies in the center of the arena. To hack it, the player must remain close, with hacking speed being proportional to distance: when far enough, it reverses at a slow pace. After a set time has passed, the 808 Hovertank appears.
Strategy
Hacking the server is a battle in which it is useful to stay aware of threats coming from all directions. Since it is difficult to see the spawning locations of enemies when huddled in the center, patrolling away from the server can become a useful compromise between hacking speed and area denial. In times of need, it can also serve as cover. Quickly circling around it is an easy way to break engagement and wait for shields to recharge.
Most enemies spawned here are relatively easy to dispatch and require no particular mention. The Hovertank is no different: it is slow and its dumbfire missiles pose little threat when sidestepping and dashing through.
Notes
- The server will start beeping before exploding, so don't stay close! As a last ditch effort, this can be used as a signal to lure in and blow up remaining intruders.
- The powerups will always spawn in the remains of the server.
- Anecdotal evidence suggests the server bossfight only occurs when being dispatched to the KAIDA Training Floors (Orange Floor.)
Second Bossfight
Raptor Type E
Armored transport
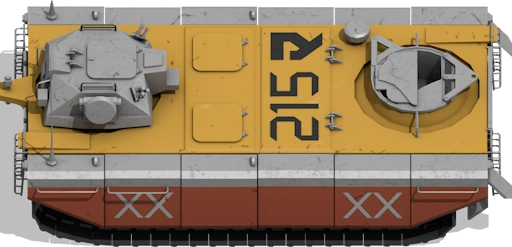
15 Armor with 150,000 health base.
Conveyor Belt
Soon after arriving the belt will begin to move. Either of the far ends in red will inflict damage over time on you.
As you move basic enemies will begin to spawn. Turrets and drones. Obstacles will come into view and you must navigate and survive to reach the end.
Third Bossfight
- Unstable Mass
- Arena Masters

After moving forward you will fight 3 stronger versions of the red guard.
One sniper, one incinerator, one riot guard, all behaving as those enemies normally do.
Final Bossfight
- A room consisting of 4 areas.
The Globe room

A safe room where the player spawns in. There are no threats here, except for poison gas which seeps into the entire arena after lingering for 20+ minutes.
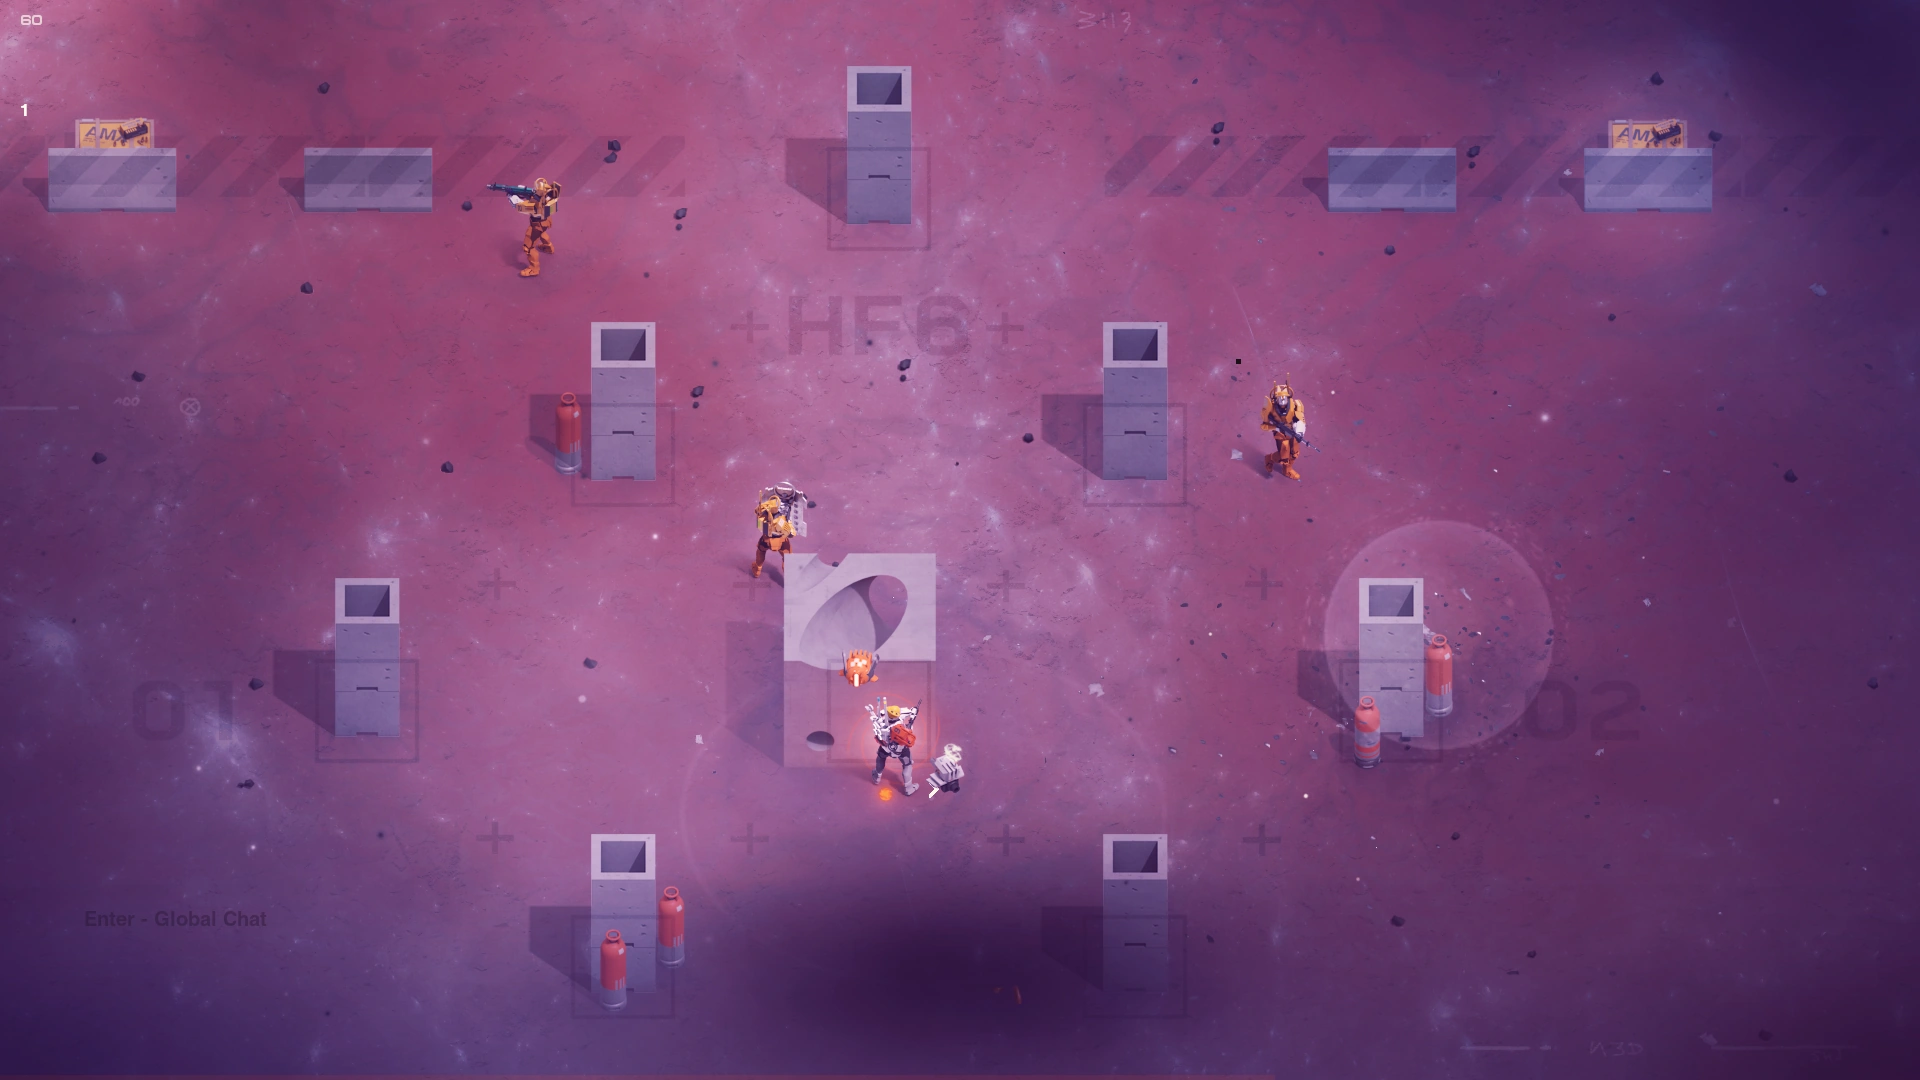
The Guards
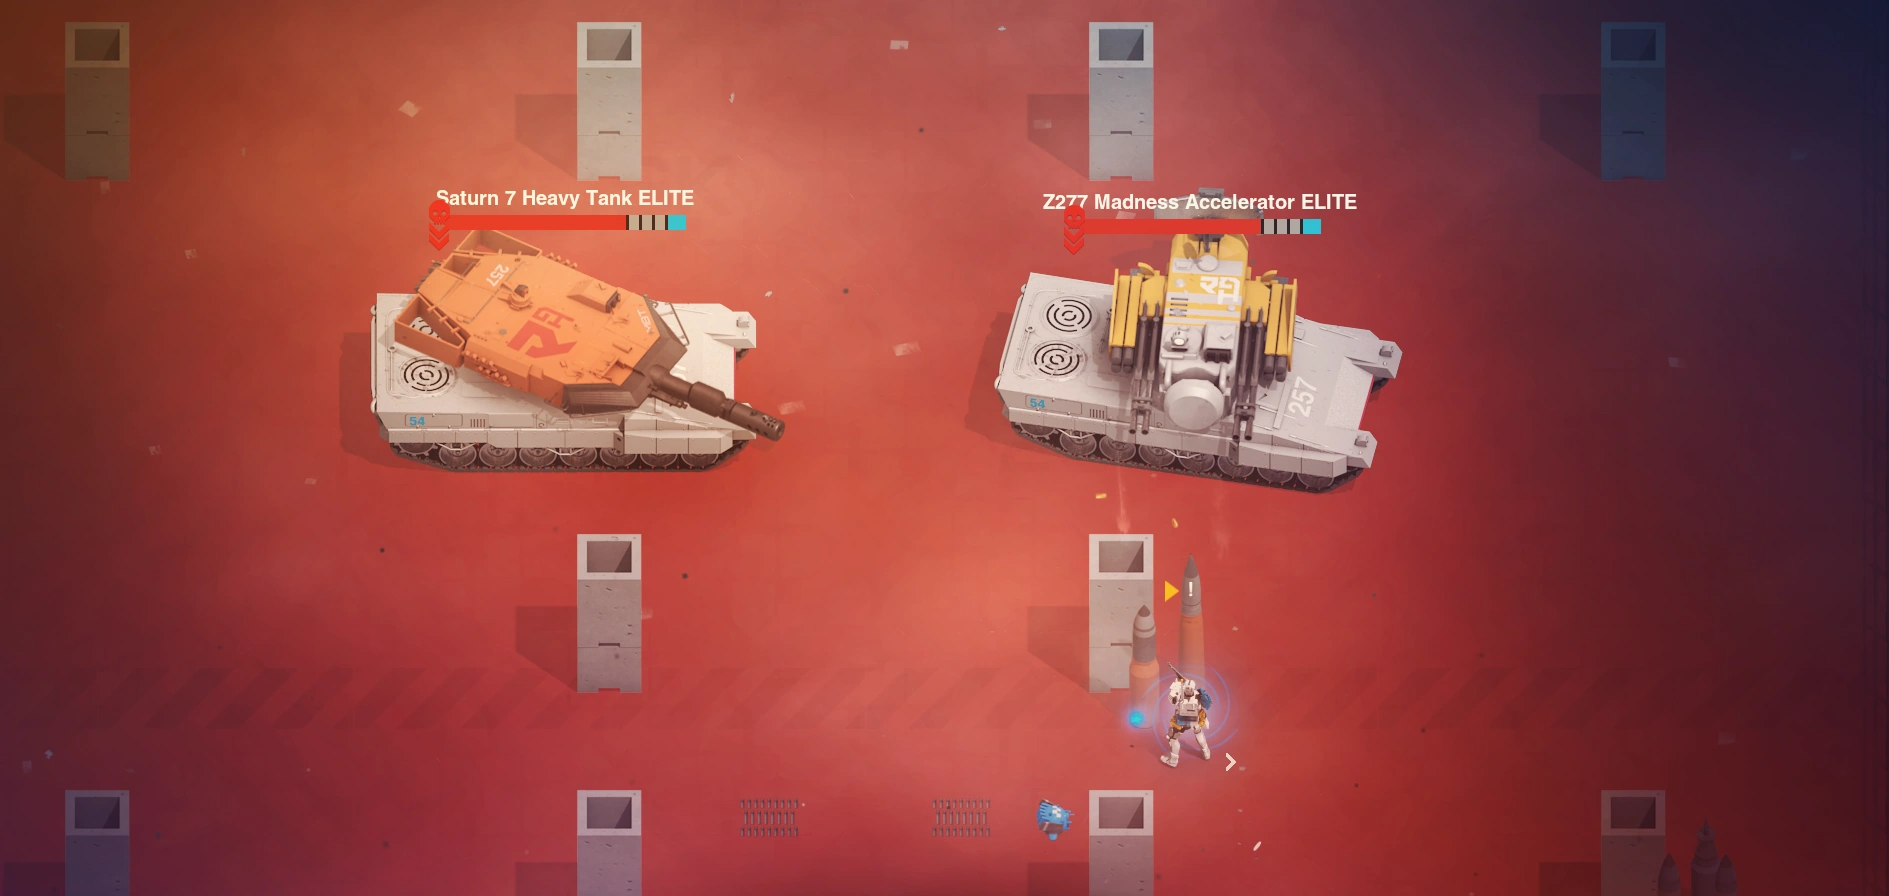
A difficult mini-boss fight between two elite tanks. Take out the one on the right first!
Disco room
A considerably difficult battle just before last defender. The player must hack the servers in the corners of the room in order to open the last gate.
Enemies will teleport in, including: Gun Drones, SPDR Explos, Red Guard Nemeses and Red Guard Protectors.
The floor tiles will flash between safe and harmful. (see above.)
Remember to be patient, leave the tile you're on immediately if it starts to fade into being harmful.
Last Defender
The Final boss of the game, a big, tanky machine with lots of attacks and high damage.
Finale
Sabotage Armageddon Device
Tasked to stop Armageddon, this level plays similar to HACK THE SERVER boss with the very important difference that you should not roam around the room. The device has two counters, top one indicates how much you've manage to hack, bottom one indicates how close Armageddon is to triggering.
You win the level by making the top bar fill up before the bottom bar does.